Skiing is not just about the thrill of the ride; it’s also about optimizing your performance to glide effortlessly down the slopes. One of the key factors in achieving peak performance is proper ski maintenance, and waxing plays a crucial role in this process.
In this guide, we look at ski waxing, covering everything from selecting the right materials to executing the waxing process with precision. Albeit you’re a beginner or an experienced skier, mastering the art of ski waxing will undoubtedly enhance your skiing experience and elevate your performance on the mountain.
Materials Needed
Before diving into the waxing process, let’s gather the essential materials you’ll need:
|
Material |
Description |
|
Workbench or Waxing Platform |
|
|
Ski Tuning Vise |
|
|
Rubber Bands |
|
|
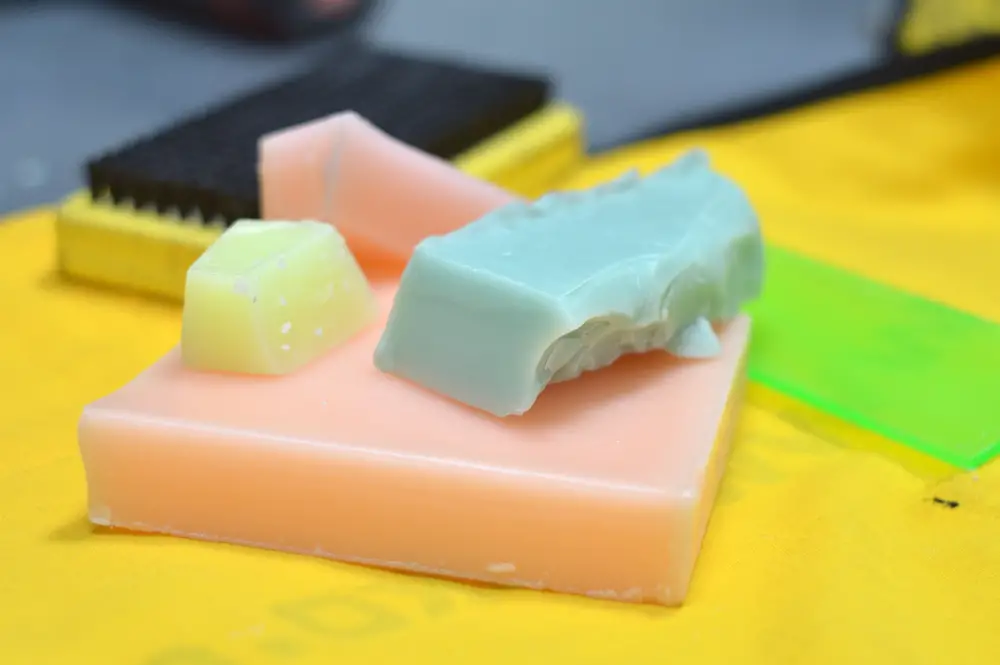
Ski Wax |
|
|
Waxing Iron |
|
|
Plastic Wax Scraper |
|
|
Waxing Brushes |
|
Workspace Setup
Creating the right workspace environment is essential for a successful waxing session.
Here’s how to set up your workspace for optimal results:
- Secure Skis – Use a ski tuning vise or blocks of wood to secure the skis in place, ensuring they are stable and level.
- Retract Ski Brakes – Use rubber bands to retract ski brakes, preventing them from obstructing the waxing process.
- Cover Surface – Protect the surface beneath your workspace with a cloth or waxing mat to catch any wax drips and prevent mess.
Preparing Your Skis
Before applying wax to your skis, it’s essential to prepare the ski base properly. Follow these steps to ensure your skis are ready for waxing:
1. Clean Base
Start by cleaning the ski base to remove any dirt, debris, or old wax buildup. Use a base cleaner or solvent sparingly, ensuring the base is completely dry before proceeding.
2. Check Base Structure
Inspect the ski base for any imperfections or damage. Use a ruler or dedicated truing bar to check for flatness and ensure the edges are not railed (higher than the base).
3. Repair Base
If the ski base has any gouges, scratches, or other damage, consider repairing them before waxing. Use a P-Tex candle or base repair kit to fill in any imperfections and ensure a smooth surface.
Understanding Ski Wax Types

Selecting the right wax is crucial for optimizing performance and durability on the slopes. Here’s a breakdown of the different types of ski wax and their applications:
1. All-Temperature Wax
Designed to perform well in a wide range of snow conditions and temperatures. Ideal for skiers who encounter varying conditions or ski in different geographical areas during the season.
2. Temperature-Specific Wax
Tailored to specific temperature ranges for optimal performance in varying snow conditions. Choose the appropriate wax based on the prevailing temperature and snow conditions.
3. Fluorocarbon Wax
Once popular for its speed-boosting properties, fluorocarbon wax has been phased out due to environmental concerns. Opt for hydrocarbon or plant-based waxes as eco-friendly alternatives.
4. Environmentally Friendly Wax
Some companies offer environmentally friendly wax options that minimize negative environmental impacts. These waxes are formulated to perform as well as traditional waxes while reducing harm to the environment.
Choosing the Right Waxing Iron
Investing in a quality waxing iron is essential for achieving consistent results and preventing damage to your skis. Here are some factors to consider when selecting a waxing iron:
- Look for a waxing iron with adjustable temperature settings to ensure precise control over the wax melting process.
- Choose an iron with a thick baseplate to distribute heat evenly and prevent hot spots that can damage ski bases.
- Avoid irons with steam holes, as they can trap wax and lead to uneven wax distribution on the ski base.
How to Wax Skies? [A Step-by-Step Procedure]

Now that you’ve gathered all the necessary materials and prepared your workspace let’s dive into the step-by-step waxing process:
Step 1. Secure Skis
Place the skis in the ski tuning vise or elevate them using blocks of wood to ensure stability and accessibility.
Step 2. Retract Ski Brakes
Use rubber bands to retract the ski brakes, preventing them from interfering with the waxing process.
Step 3. Heat Waxing Iron
Set the waxing iron to the appropriate temperature based on the type of wax you’re using and the manufacturer’s recommendations.

Step 4. Apply Wax
Hold the waxing iron over the ski base and drip wax onto the surface, moving the iron evenly to distribute wax across the entire base.
Step 5. Spread Wax
Use the waxing iron to spread the melted wax evenly across the ski base, ensuring complete coverage and penetration into the pores of the base material.
Step 6. Allow Cooling
Allow the wax to cool and solidify completely before proceeding to the next step, typically 20-30 minutes depending on the wax type and ambient temperature.
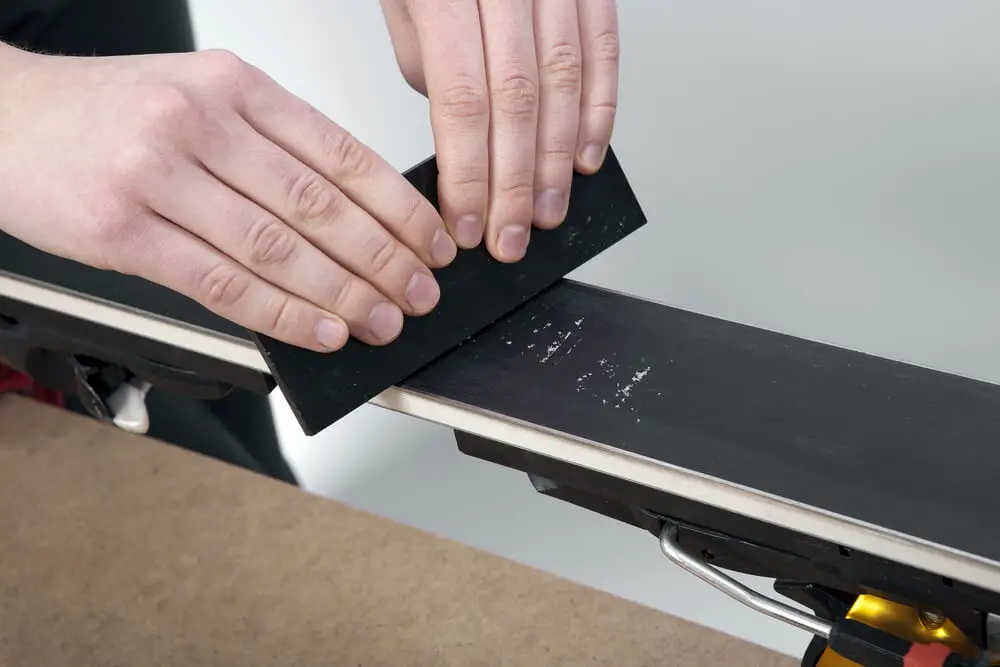
Step 7. Scrape Excess Wax
Once the wax has cooled, use a plastic wax scraper to remove excess wax from the ski base, ensuring a thin and even layer remains.
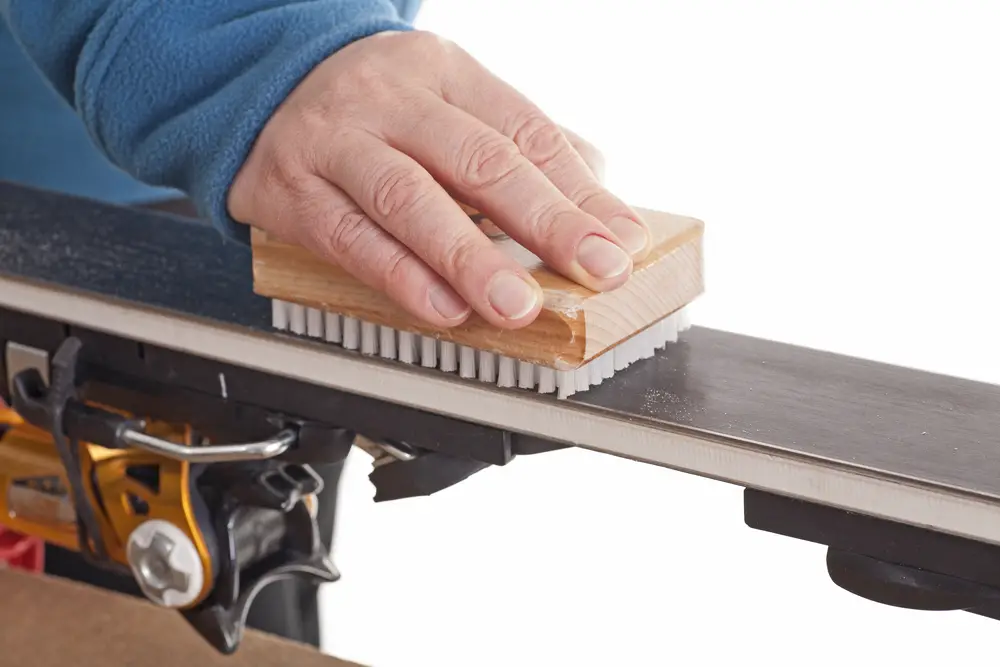
Step 8. Brush Base
Use a series of wax brushes with varying stiffness to brush the ski base, removing any remaining wax residue and revealing the base structure for enhanced performance.
Final Inspection
Inspect the ski base for any imperfections or areas that may require additional waxing or tuning before hitting the slopes.
How Often Should You Wax Your Skies?
The frequency of waxing depends on various factors, including snow conditions, skiing style, and base material. Regularly inspect your skis for signs of dryness, white patches, or diminished performance. These may indicate that your skis are overdue for waxing.
Consider temperature fluctuations and the prevailing snow conditions when determining the frequency of waxing. If the snow temperature changes significantly or your wax is no longer appropriate for the conditions, it may be time to reapply wax.
Some skiers prefer to wax their skis before every outing, while others may wax once or twice per season. Ultimately, the optimal waxing frequency depends on your skiing habits and performance expectations.
Common Mistakes to Avoid When Ski Waxing
- Failing to properly clean the ski base before waxing, leading to poor wax adhesion and performance.
- Choosing the wrong wax type or formula for the prevailing snow conditions, resulting in subpar glide and control.
- Applying excessive heat during waxing, causing damage to ski bases and compromising performance.
- Spreading wax unevenly across the ski base, leading to inconsistent glide and control on the slopes.
- Forgetting to tune and sharpen ski edges before waxing, affecting overall skiing performance and safety.
- Failing to remove excess wax properly after application, resulting in a sticky base and reduced glide.
- Neglecting to brush the ski base after scraping, leaving behind excess wax and compromising performance on the slopes.
Final Words
Learning ski waxing is essential for optimizing performance, enhancing control, and prolonging the life of your skis. As you follow the detailed steps outlined in this guide and investing in quality materials and equipment, you can ensure that your skis are always ready to tackle any terrain with confidence.
Whether you’re carving down groomed runs or shredding through powder, properly waxed skis will elevate your skiing experience to new heights. So, gear up, wax on, and hit the slopes with confidence knowing that you’re equipped for peak performance and maximum enjoyment.
Frequently Asked Questions
How can I tell if my skis need waxing?
Look for signs like dryness, white patches, or diminished performance on the slopes. If your skis feel sluggish or have trouble gliding smoothly, it’s likely time for a fresh coat of wax. Regular inspection ensures peak performance.
Can I use household items for ski waxing?
While you can use a regular iron, it’s best to invest in a dedicated waxing iron for precise temperature control. Household irons may overheat and damage ski bases.
Is there a difference between all-temperature and temperature-specific wax?
Yes, all-temperature wax works well in varying conditions, while temperature-specific wax is tailored to specific temperature ranges. Choosing the right wax type ensures optimal performance on the slopes.
Can I apply too much wax to my skis?
Yes, applying excessive wax can lead to a sticky base and compromised performance. It’s essential to follow proper waxing techniques and guidelines to achieve the optimal balance of wax for smooth gliding and control on the slopes.


