Home upper lip hair removal is simpler than you believe. Home upper lip waxing is ideal for those who can’t visit the salon. Whether you’re new to waxing or need a guide, we can help. You can obtain a salon-like look without the bother or cost with the appropriate method.
The steps to wax your top lip effortlessly and efficiently are in this instruction. We’ll also provide expert advice to make your trip as pleasant as possible.
Why Wax Your Upper Lip?
Let’s briefly discuss why waxing is helpful for upper lip hair removal before starting. Waxing eliminates hair from the root, unlike shaving. Smoother skin lasts 2–4 weeks, depending on hair growth speed. Over time, waxing reduces hair growth, making regrowth finer and less apparent.
The true benefit? Home waxing is cheap, fast, and requires few equipment. It gets automatic with practice.
Tools You’ll Need for Upper Lip Waxing
Having the right tools is essential for a smooth waxing process. Here’s a quick table to help you gather everything you need before you start.
| Tool | Purpose | Alternative |
| Waxing Kit (Soft or Hard Wax) | Removes hair from the root | Pre-waxed strips |
| Wax Warmer (if using soft wax) | Melts wax to the right consistency | Microwave |
| Wax Strips (if using soft wax) | Helps to pull out the wax | Cut-up fabric strips |
| Waxing Spatula (Wooden stick) | Applies wax evenly on the skin | Popsicle stick |
| Mirror | To see the application area | Magnifying mirror for precision |
| Cotton Pads or Cloth | Cleans skin after waxing | Soft towel |
| Soothing Gel or Oil | Calms skin post-wax | Aloe vera gel or coconut oil |
Preparing Your Upper Lip for Waxing
Waxing requires preparation. Start with clean skin to ensure wax sticks to hair without oil or grime. You must do this:
- Cleanse Your Skin
Use a gentle cleanser to wash your upper lip. This will remove oil, makeup, and dirt. Pat your skin dry afterward. - Exfoliate Gently
Lightly exfoliate your skin a day before waxing. This removes dead skin cells that can trap hair. Use a gentle scrub to prevent skin irritation. Exfoliating improves wax hold on hair. - Test the Wax Temperature
Before applying wax, check its temperature. Too hot will burn your skin; too cold will not stick. Be sure to follow wax warmer directions. Heat microwave wax in 10-second increments until smooth but not runny.
Step-by-Step Guide to Wax Your Upper Lip
Now that your skin is prepped, let’s move on to the actual waxing process. Follow these steps for the best results:
Step 1: Apply Pre-Wax Solution (Optional)
Some waxing kits include a pre-wax treatment to eliminate skin oils and moisture. If so, apply a little to your top lip and let it dry before continuing.
Step 2: Apply the Wax
If you’re using soft wax:
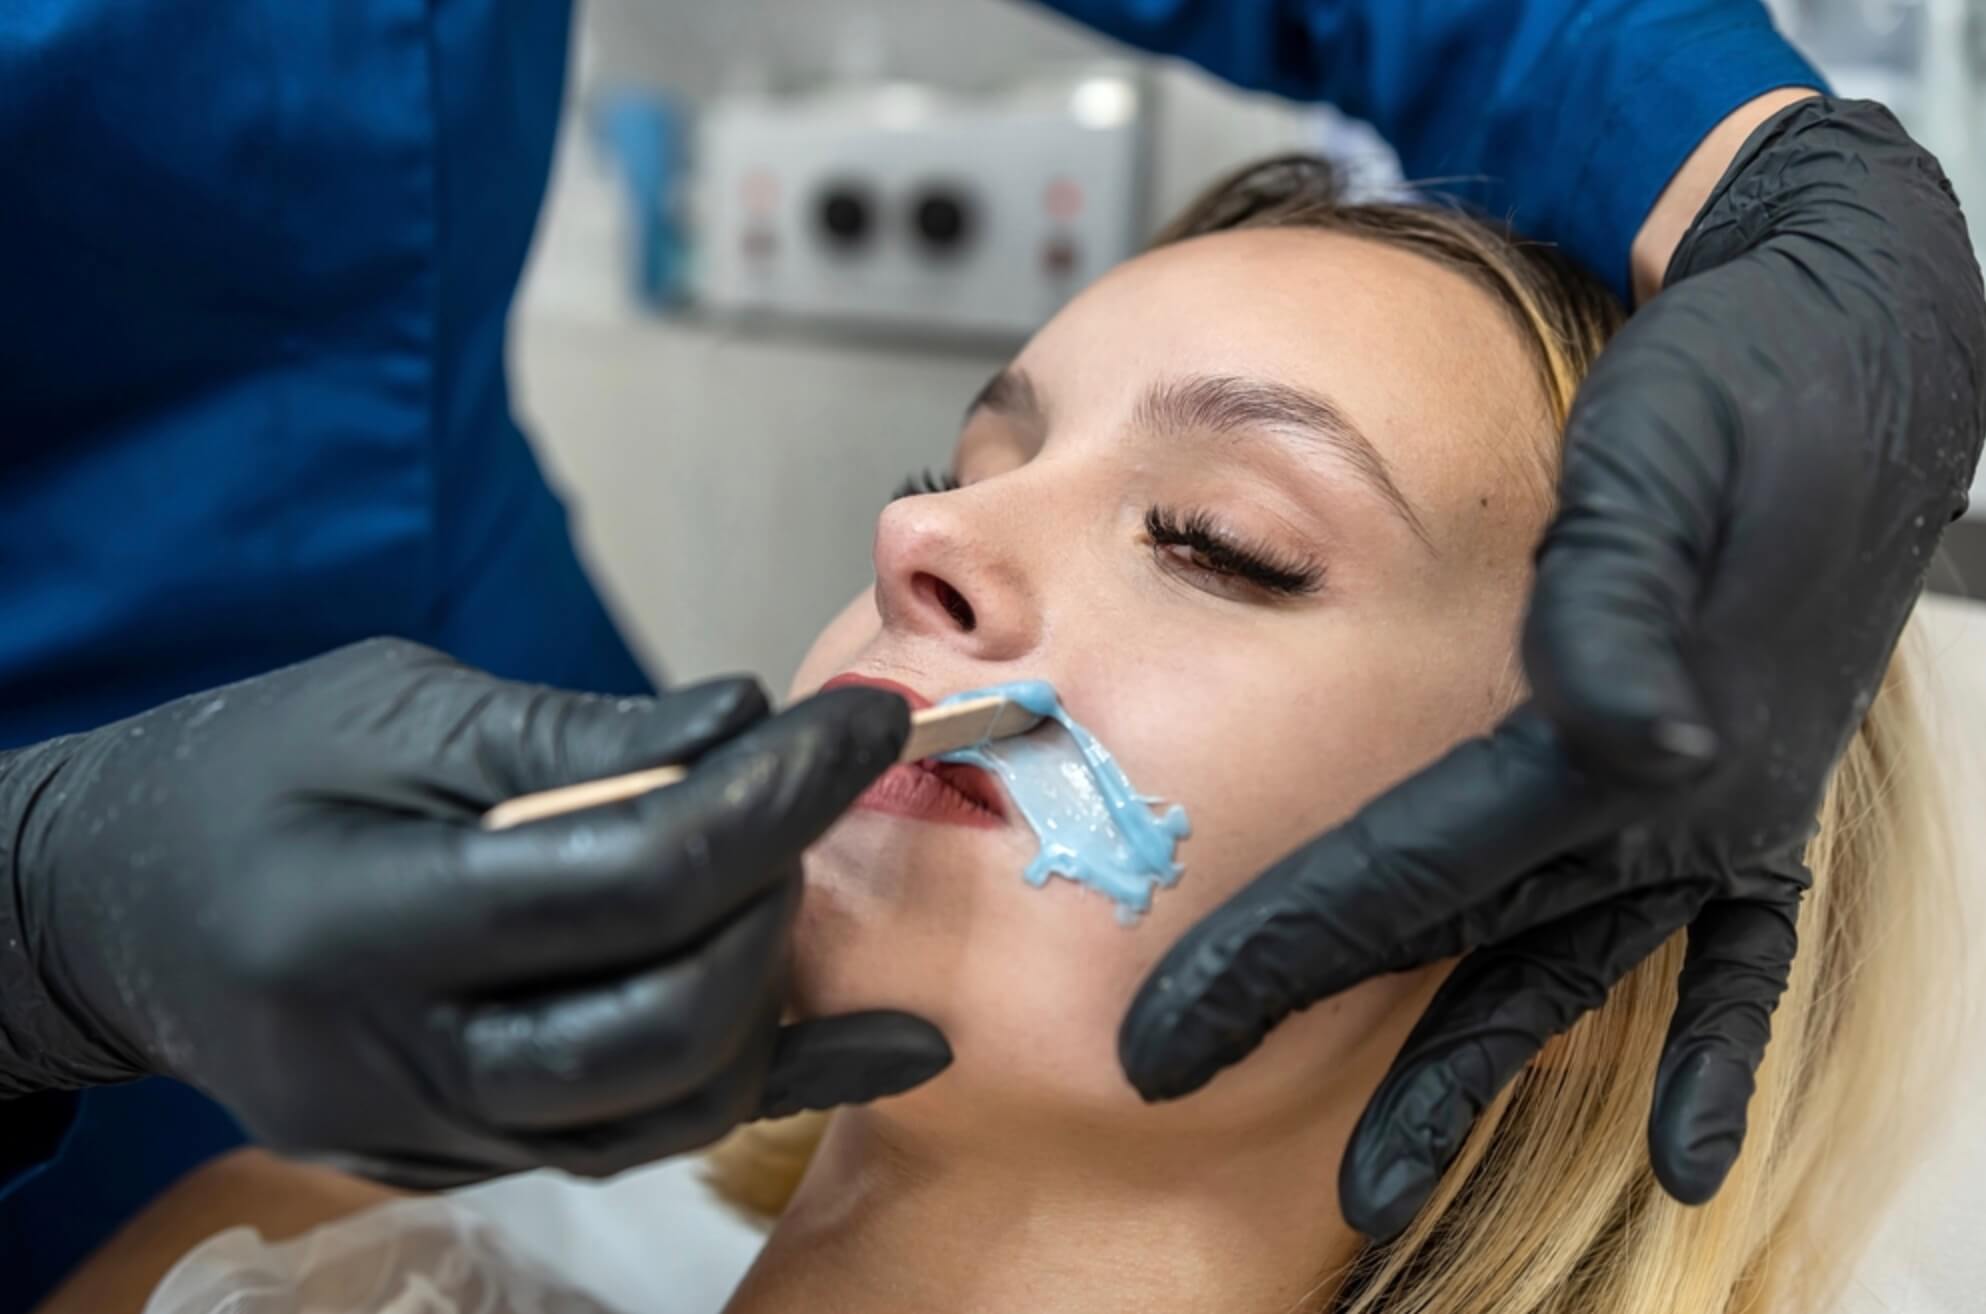
- Dip the spatula into the wax and apply a thin, even layer on your upper lip. Move in the direction of hair growth. Waxing one side at a time can help you control the process better.
If you’re using hard wax:
- Apply a slightly thicker layer and let it sit until it hardens but is still pliable.
Step 3: Place the Wax Strip

Place a waxing strip over soft wax soon after applying it. Press hard to stick strip to wax. Remember to leave a small part of the strip hanging off for easy removal.
Step 4: Remove the Wax Strip
This matters most! Pull the strip off in the opposite direction of hair development while holding the skin tight. Use one fast move to reduce pain.
For hard wax, grab the edge of the wax and pull it off in one quick motion.
Step 5: Repeat on the Other Side
Repeat the same process on the other side of your upper lip.
Step 6: Clean Up
After removing all the wax, use a wax remover or any oil (like baby oil or olive oil) to clean off any leftover wax from your skin.
Step 7: Soothe the Skin

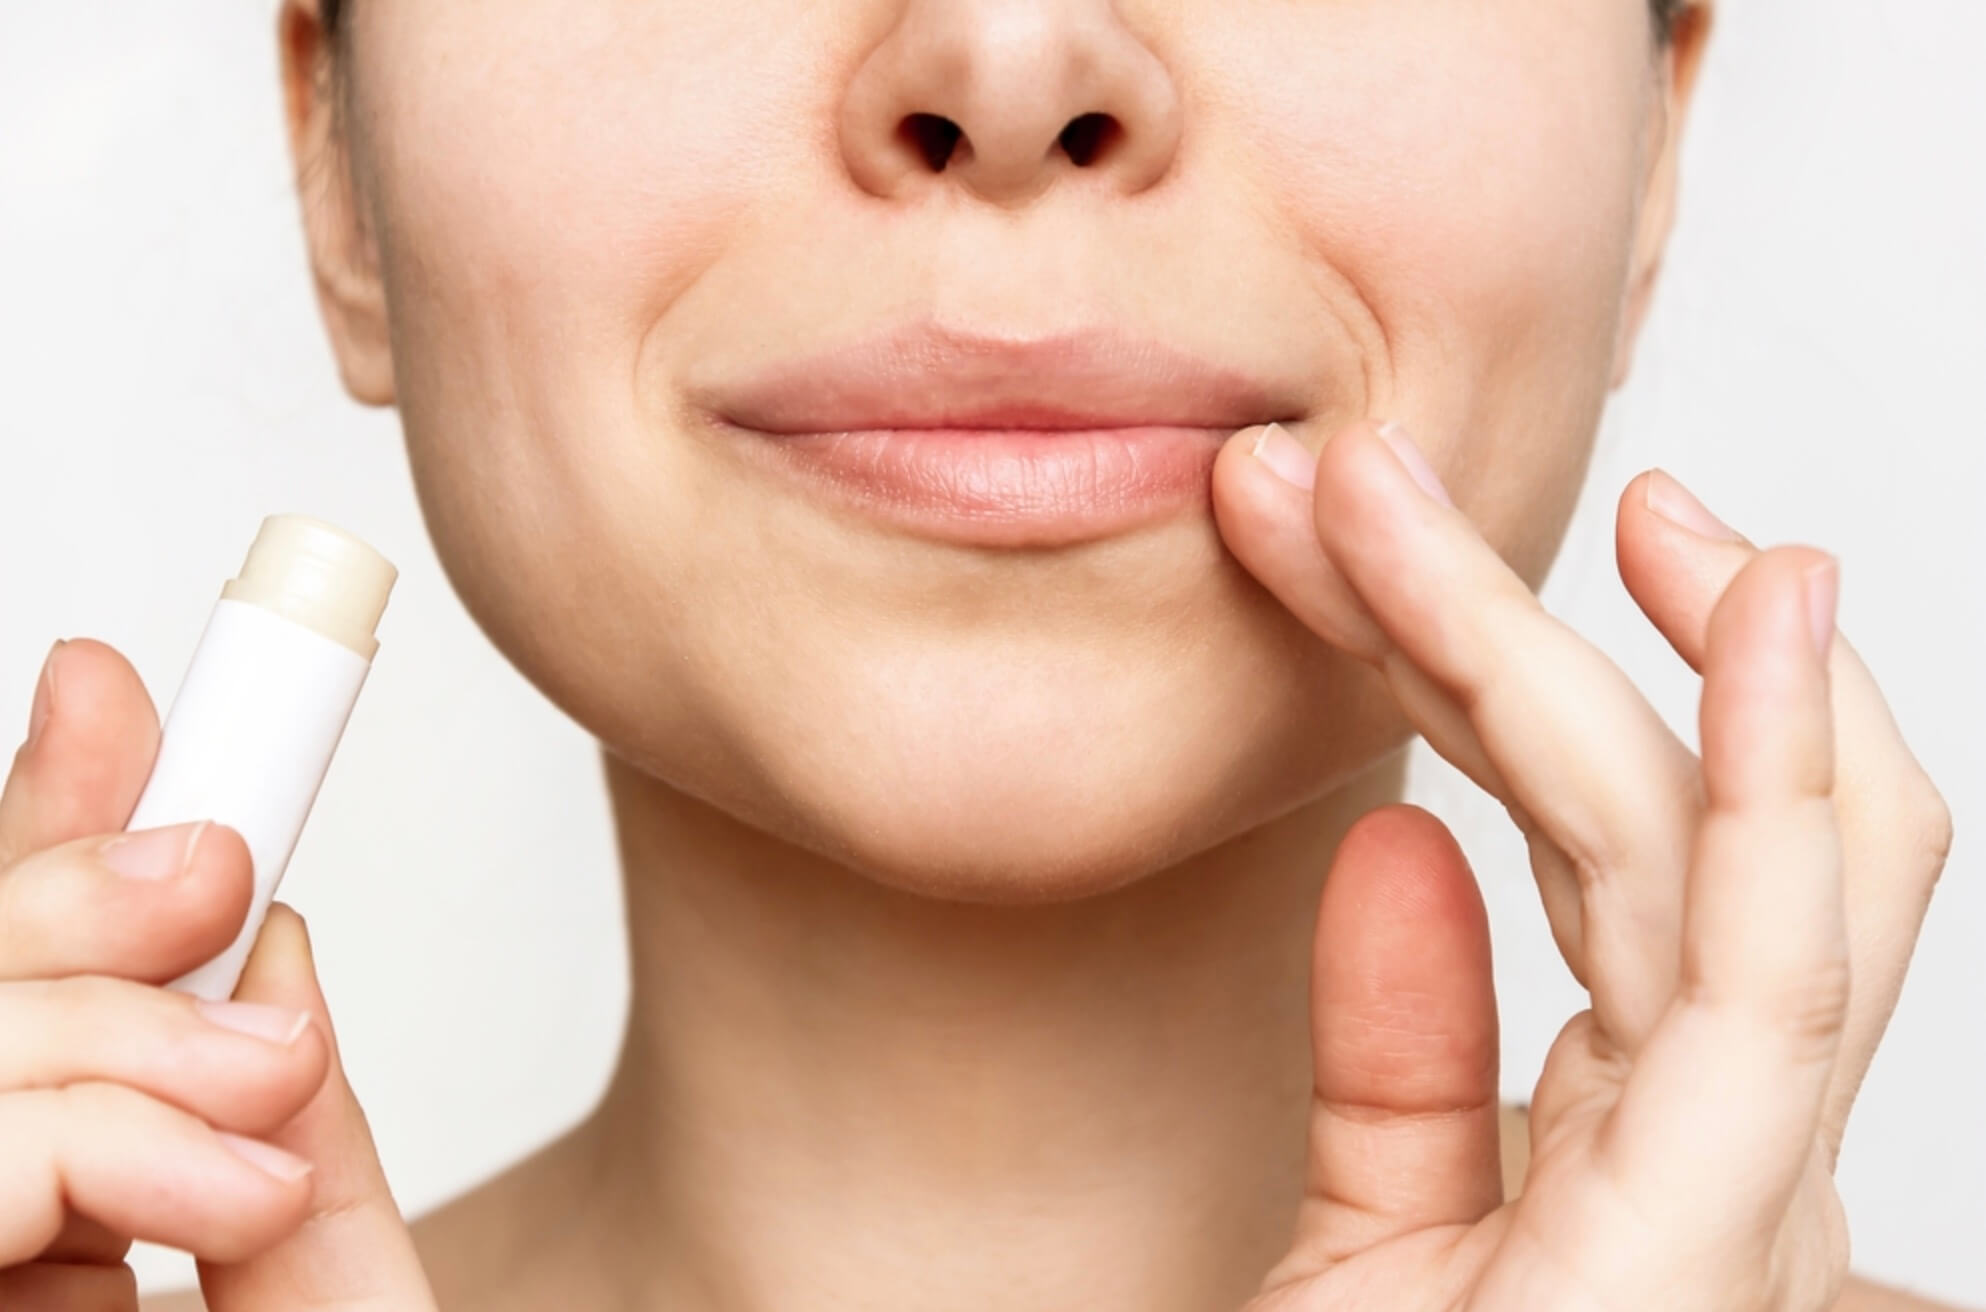
Waxing can redden or irritate skin. Use aloe vera gel to soothe and minimize redness. To avoid irritation, wait at least a few hours before wearing makeup or heavier lotions.
Common Upper Lip Waxing Issues and Fixes
| Problem | Cause | Solution |
| Wax not sticking to hair | Skin is too oily or wax is too cool | Clean skin thoroughly and reheat wax slightly |
| Wax too hot | Overheated in the microwave or warmer | Allow it to cool for a few minutes before applying |
| Redness or bumps after waxing | Normal skin reaction to hair removal | Apply aloe vera or a cooling gel, avoid touching the area |
| Hair left behind | Wax didn’t grip shorter hair | Use tweezers for any stray hairs, wax again in 2-3 days |
How to Maintain Waxed Skin
| Time After Waxing | Care Tips |
| Immediately after | Apply soothing gel or oil |
| First 24 hours | Avoid heat, makeup, and exfoliation |
| 2-3 days later | Lightly exfoliate the skin |
| Daily | Moisturize to keep skin soft and prevent irritation |
Alternatives to Waxing for Upper Lip Hair Removal
If waxing feels too painful or time-consuming, there are several other options available. Here’s a quick look at the pros and cons of different methods:
| Method | Pros | Cons |
| Shaving | Quick, painless | Results last only 1-2 days, can cause stubble |
| Tweezing | Precise, long-lasting | Time-consuming, can cause ingrown hairs |
| Threading | Gentle on skin, no chemicals | Requires skill, can be uncomfortable |
| Hair removal creams | Painless, quick | Chemicals can irritate sensitive skin, results last about a week |
| Laser hair removal | Long-term results, reduces hair growth | Expensive, requires multiple sessions |
Conclusion
If you follow the guidelines and use the necessary equipment, waxing your top lip at home is easy and effective. You can get salon-qsuality results at home with a little effort.
Waxing removes unwanted hair quickly and smoothly, unlike shaving or lotions. For optimal results, prepare your skin, follow the procedures, then take care of it thereafter.
Prepare to wax your top lip confidently and enjoy silky skin for weeks!

