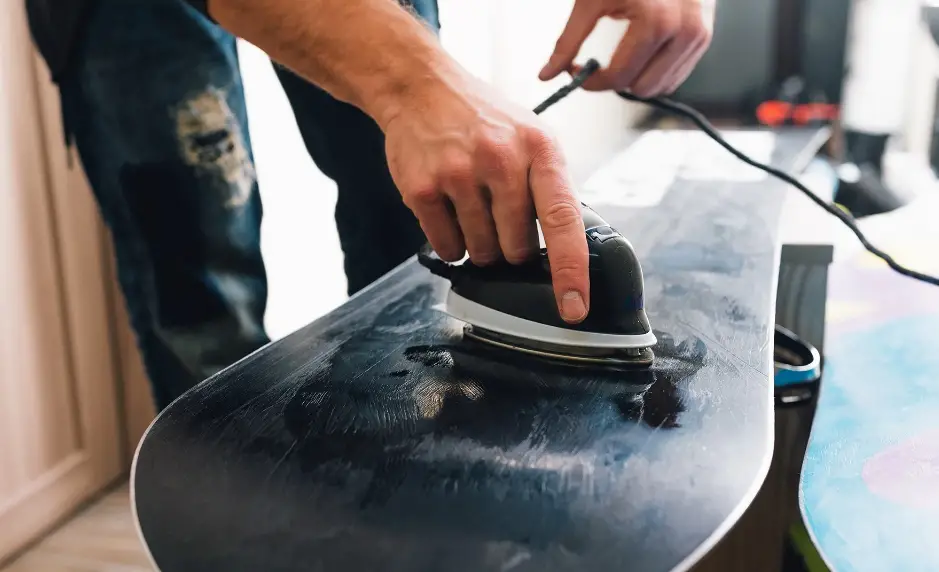
This article will tell you how to wax a snowboard yourself. You will hardly need information about how to pay for this service properly, well, except for how to bring it in, how long it takes to pick it up, and the exact cost.
But we’ll touch on the price of this service anyway, and compare what’s easier, giving it to a special person or doing it yourself.
Paying Someone to Wax Your Snowboard
No matter how much you might be persuaded, this is a perfectly acceptable option for snowboard rubbing. Of course, there are always snowboard aficionados who will look at you squeamishly if you want to do this procedure for money. To them, it’s unprofessional.
There are several reasons why it’s worth it to use the paid services:
- You have the right amount of money and absolutely no time to do it yourself.
- You don’t snowboard often, and it’s easier to pay once a year than to waste your time.
- You live in a tiny apartment and don’t have the space to take care of your snowboard yourself.
- You have already tried to do everything yourself and you either didn’t succeed, or you got tired of the procedure itself.
There are many reasons, we have just cited the main ones described by users on the Internet.
All ski resorts provide this service, so there is no problem with it. Just find a master and give him the snowboard, and everything will be done in the best way.
Video: How to Wax a Snowboard
In this video, you can watch the detailed process of how to wax a snowboard.
Waxing Your Snowboard Yourself
So, with paid services everything is now clear, now let’s move on to the main topic of our article. If you are still thinking about doing your own waxing, then the rest of this article is for you.
Let’s give you a selection of reasons why you should wax your snowboard with your own hands.
- You use this procedure often and you’re overpaid for it every time.
- You love your snowboard very much and don’t want to entrust it to anyone else.
- You just like to do everything with your own hands.
- Many people really enjoy this procedure.
How to Wax a Snowboard (Step by Step)
So you’ve chosen to do it by yourself. These are the moves.
Step 1: Buy everything you need
To wax your snowboard, you will need:
- Fresh wax. It is worth using cold wax when the weather is very cold, warm wax if the weather is more or less warm, or universal wax if the change in weather conditions in your area is very frequent.
- A special wax iron. Many snowboarders prefer to take a standard clothes iron. This is hardly very effective. Especially after snowboarding, you can’t exactly iron your clothes with this iron anymore.
- Wiping
- Special base cleaner
- Hard scraper
- Brush
- Cloth
Step 2: Find the right place to wax
Waxing a snowboard is not the cleanest procedure. So you should make sure that you wax where dirt is not particularly scary or can be easily removed. For example, you shouldn’t do it on a new carpet. The wax scrapes very quickly become embedded in the pile and are almost impossible to remove.
It is best if you buy a bench on which you can place your snowboard, and if you are still the lucky owner of the bindings, it remains to find two wooden bars to hang your snowboard on.
If you don’t have a bench, you can just get two chairs and hang the snowboard over them – remember that everything needs to be secured carefully so as not to damage the snowboard or the chairs.
We suggest placing an unwanted sheet, old newspaper, or whatever you want underneath – so that scrapings of wax and hot wax will fall there, and it will drip with no options.
Also, create a place to safely place the iron.
We advise you to change into work clothes, as wax scrapings are hard enough to scrub or launder.
Step 3: Cleaning your snowboard
This should never be forgotten during the waxing process. You should look carefully to make sure that the snowboard is free of dirt or excess wax that would interfere with the wax absorbing into the base.
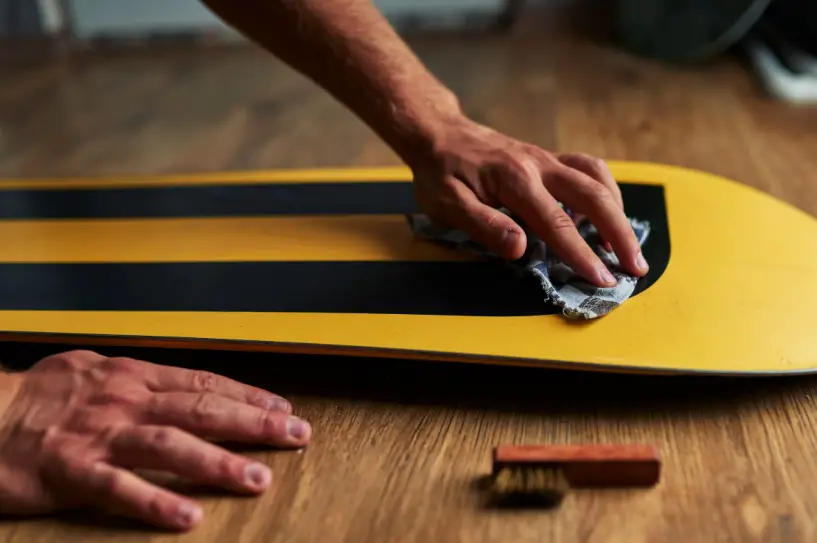
To clean your snowboard, we suggest choosing a cleaner that contains citrus.
- Apply the cleaner to the rag and run it completely over the entire base of the snowboard.
- Then use a squeegee to clean any encrusted stains.
- Be especially careful when cleaning heavily soiled areas.
- Then use a clean cloth to remove any remaining detergent.
- Make sure that the snowboard is completely dry.
We do not advise you to use the base cleaner often when waxing. Many users have noticed that the base gets damaged over time because of its frequent use. But it seems to us that if you use it in small amounts, it won’t hurt your snowboard.
The best time of year for a cleaner is in the spring when there is a lot of dirt on your snowboard. If the winter is snowy, you can often do just fine without it.
Step 4: Waxing your snowboard
So, when you’ve bought everything you need, you’ve found a place that fits all the parameters, and you’ve washed the snowboard of dirt, you can start applying the wax layer.

First, turn on the iron. Start with a low temperature, and if necessary increase the temperature, so you can get a good feel for the temperature you’re looking for.
Do not use an iron that is too hot, this will affect the integrity of the base, and the melted wax will lose its effectiveness because it melts too much.
To make sure you know for sure that the board is completely dry after cleaning, and to make it easier to absorb the first layer of warm wax, heat the base slightly.
If you have a heat gun at home, you can use one, but a regular hair dryer or iron will do the job just fine, too.
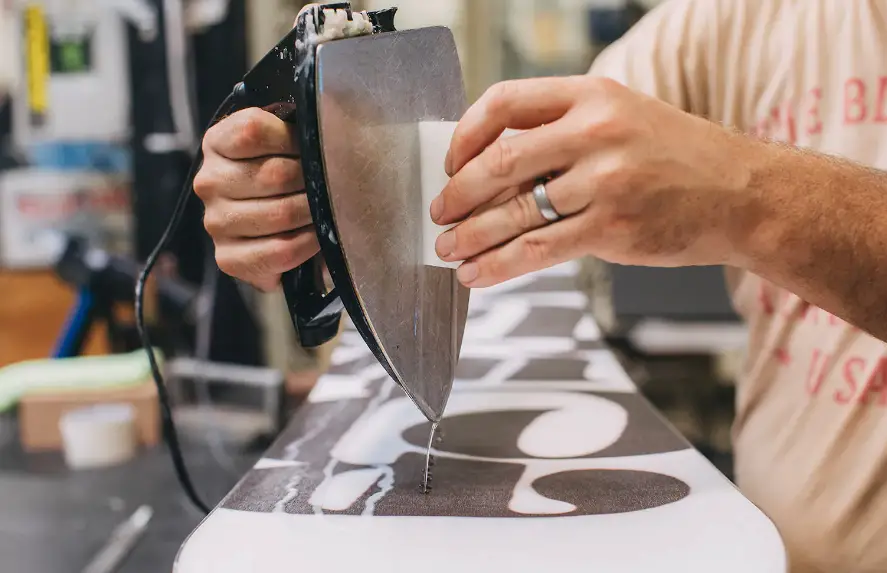
Now let’s start applying the wax. To do this, you must hold the iron and the wax evenly block over the base of the snowboard. Lightly press the wax onto the iron and as it slowly begins to melt, gently run it along the snowboard.
We suggest running it along the very edges of the board first, and when you’re done with them, zigzag along the very center of the snowboard.
The edges of the snowboard are usually drier than the rest of the board, so look carefully to make sure you’ve applied the right amount of wax.
Iron your board
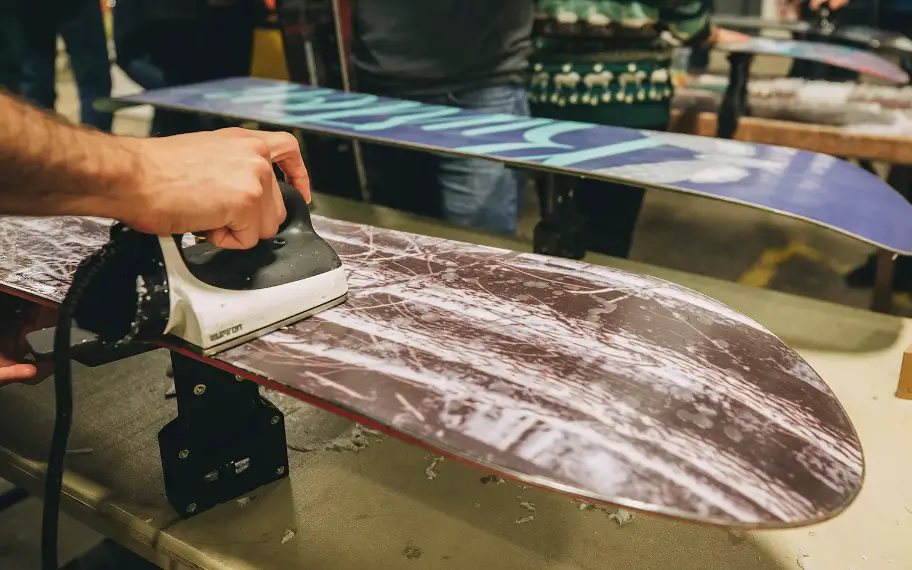
Then, once you have waxed the board, you need to smooth it out with an iron. This procedure not only heats the wax and the base to ensure better absorption of the wax, but it also allows the wax to be distributed equally over the entire surface.
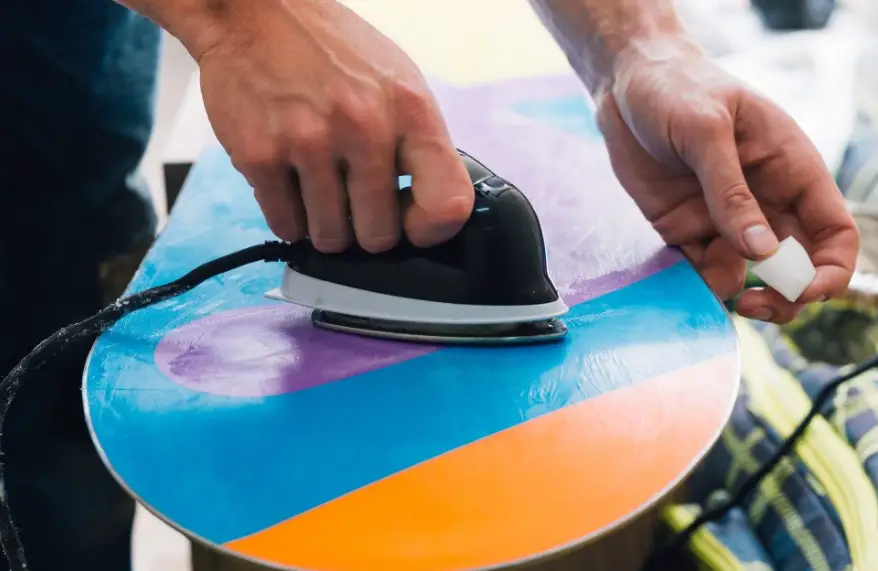
Some people apply it in slow circular motions, while others prefer to drive the iron across the width of the board and then, for sure, lengthwise as well. Choose whichever method works best for you. All you need is for the wax to soak into each area of the base.
You don’t want to hold the iron in one place – you have to keep moving it along the board. Slowing down will cause a lot of damage to the base, you obviously don’t want that. You can hold the iron for a couple of seconds to better melt the wax, but you shouldn’t exceed that time limit.
Pay attention to the base of the board near the edges and check that the right amount of wax is there – as it is the edges that most often interact with the snow.
Don’t panic if you accidentally get wax on the metal edges. It’s not a big deal at all – we’ll get rid of it later.
Step 5: Let the base cool down
Once you’ve managed to wax the entire snowboard base, you need to give it time to cool down before getting rid of the excess wax.

Scraping off the wax will be quite difficult if the wax is hot. You are also more likely to damage the coating if you do this.
We suggest that you leave your snowboard for at least fifteen minutes before proceeding with the final steps-so in the meantime you can have tea, rest, or do the rest of your chores around the house.
Step 6: Scraping off the wax
Fifteen minutes have passed and you can start scraping off the wax.
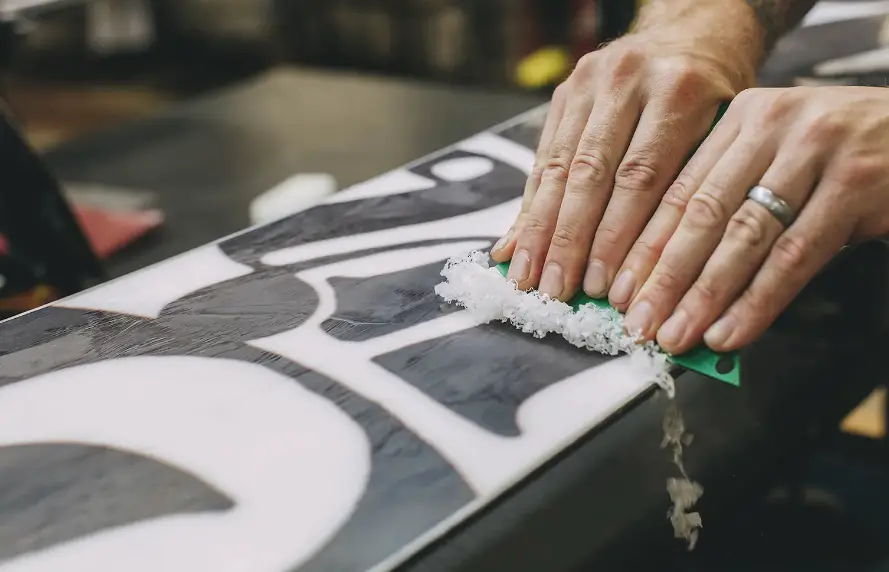
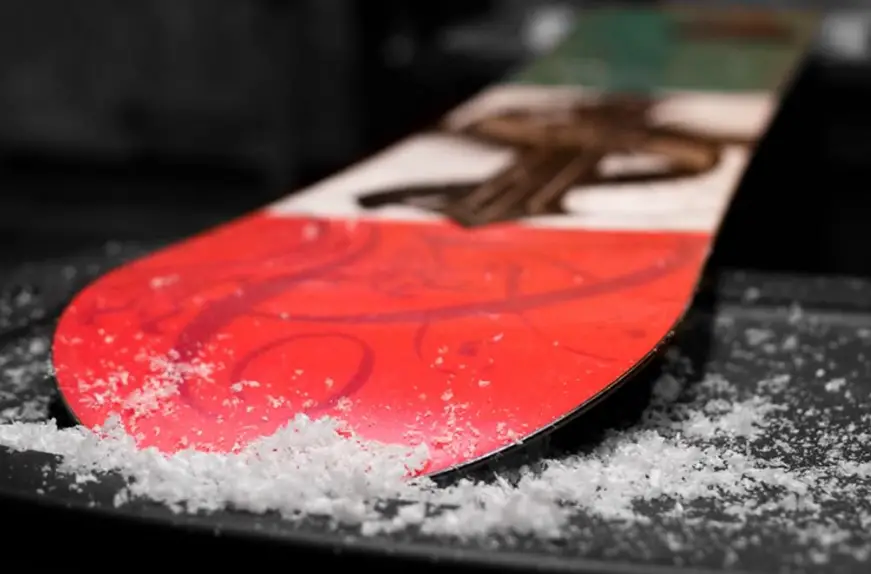
The wax that has accumulated on the outside of the base will not allow your board to accelerate – worth saying, it will be quite different – it will only slow you down. So don’t be lazy to scrape off the excess, otherwise, the whole process will only hurt your hobby, not help it.
You don’t have to do this unless you wax before the summer season when the board is put away in the closet until winter.
Scrape the wax off the metal edges
We mentioned above that if the wax got on the metal during the procedure, it’s no big deal. That’s a true statement, but now we need to scrape it off. This is where we recommend starting.
Professional snowboard wax scrapers often consist of a small hole on the side that makes the whole process of scraping the edges much easier – but if you decide to use other scraping tools, you can also safely do it – it just takes much more time and effort.

Scrape off the rest of the base
Don’t assume that you’ll be able to scrape off any layer of the right wax or too much wax. It has long since been absorbed into the base, especially if you’ve taken enough time to cool it down. So without a second thought, scrape off as much wax as possible.
When scraping, it’s best to start from the edge of the board, which is farther away from you, and lead the scraper towards you. If you do it backward, you are more likely to leave a lot of scratches in the wax.
You can also scrape along the length of the base with a plastic scraper.
Scrape the wax off carefully, not missing any part of your snowboard.
It is advisable to place a wastebasket nearby so that it is convenient to get rid of excess wax on the scraper at once.
Run the scraper over the base three or four times to be sure to remove all excess wax. Even after two scrapes, wax sometimes remains on the board.
Step 7: Finishing touches
This is also a fairly important step that we don’t recommend ignoring if you want everything to be perfect.
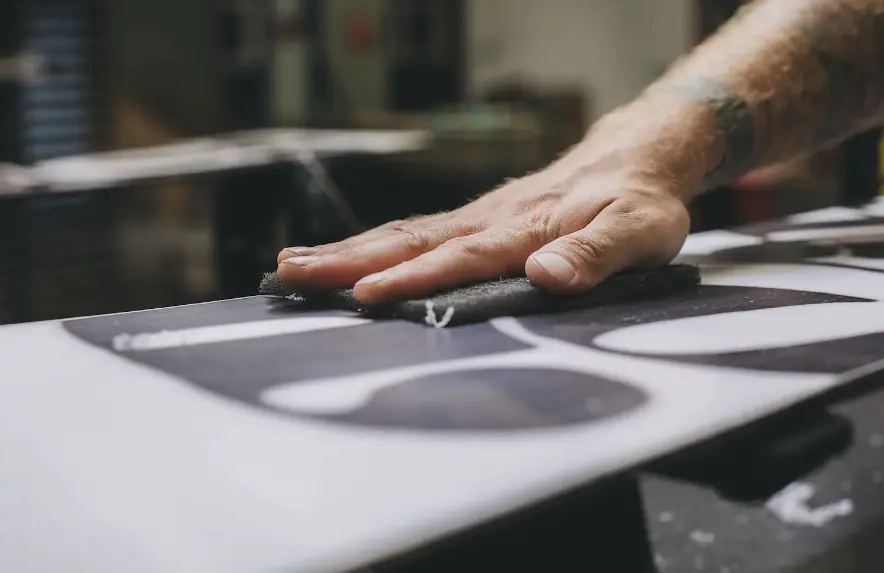
Go over the base with a nylon brush. It’s coarse and will help clean the board even more thoroughly from the small chips of wax.
This way, you’ll finally polish the base and make sure you don’t leave any excess wax on it.
Then you can go over the board with a rag to clean the board.
Step 8: Cleaning
Now all you have to do is tidy up your snowboard and you’re all set – now you have a well-waxed snowboard, perfect for sliding and gliding smoothly and quickly on flat areas and climbs! Here is how to use wax melts.
